Country gals rejoice - camouflage is on trend and it is here to stay for Fall! If you aren't so sure how to incorporate it into your wardrobe, why not start by creating an adorable athleisure set to wear around the house?
To give it that somewhat rustic look, this pattern for a tank and shorts leaves the seams exposed resulting in a very quick sewing project! The tank features a lower underarm cut, perfect for layering with a bandeau or sports bra. The shorts have an overlapping dolphin hem to feature the exposed edges of the fabric and to create a flattering cut. The best thing about the DTY jersey fabric is that it won't shed on the exposed edges and not even bleach will draw out the color, making this a totally durable set.
Whether you use the pieces for lounging or for exercising, together or separate, the camo-print is sure to add some fun to your basic collection of black leggings and solid tees. Not into camo? There are plenty of other DTY jersey options that would also be perfect for this sewing pattern. Check out the instructions below to get started!
Supplies:
- 1 yard Camouflage Print DTY Jersey
- Black, green, or brown thread
- 1" Elastic the length of your waist measurement
- Measuring Tape
- Sewing Machine
- Pins
- Large Safety Pin
- Scissors
Time:
3-4 hours
Difficulty:
Easy
LET'S GET STARTED!

PART 1: SHORTS
- Start off by measuring your waist and hips in order to calculate the measurements for the FRONT, BACK, and WAISTBAND pieces per the instructions above. Cut out two FRONTs, two BACKs, and one of each of the WAIST pieces (front and back). Never forget to wash and dry your fabric before starting any project.
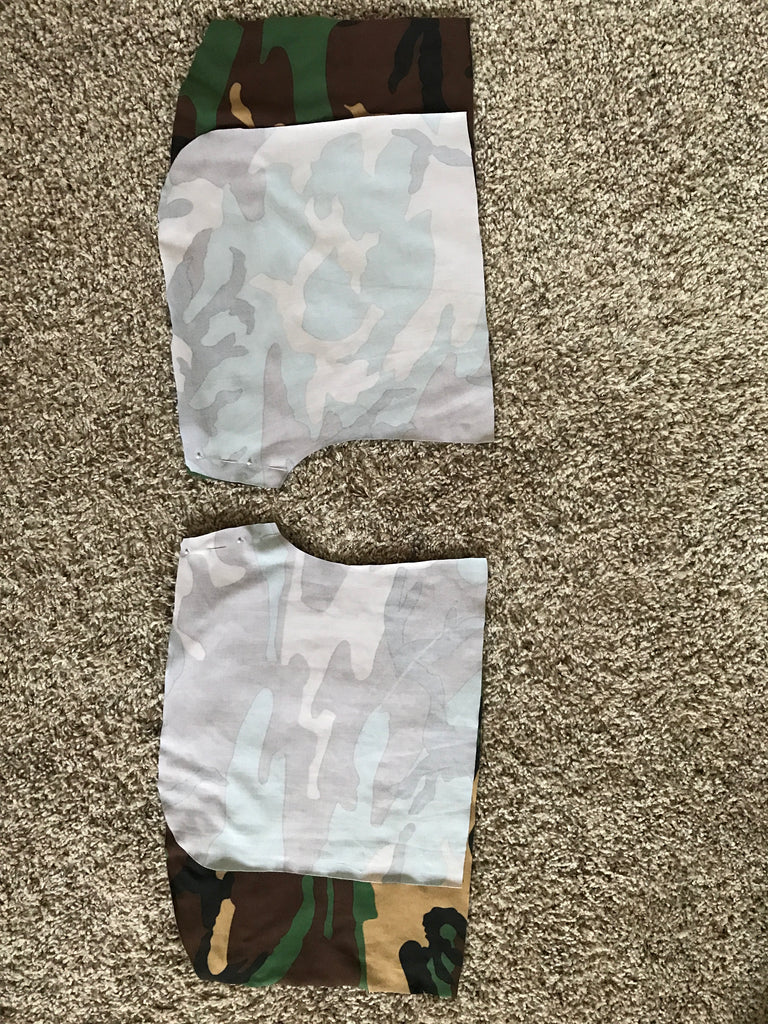
- Place the BACK on top of the FRONT lining up the inseam sides of the shorts and pin the edges together. For the outer edges, fold the FRONT over the BACK so that about 1/2" is overlapping and pin together. Sew the sides 3/8" from the edges of the fabric.


- To connect the legs together, turn one side of the shorts right side out and place it inside the side that is inside out. Line up the inseam of the shorts and pin the two pieces together. Sew the pieces together 3/8" from the edge of the fabric. Pull the one leg out of the other so that the shorts are right side out.

- The next step is to add the waistband. Take each WAIST piece and sew the two short sides together. Make sure that the ring of fabric is the same length as the waist of the shorts at the top. Fold the waistband over lengthwise to create a ring pocket for the elastic.

- Slide the waistband over the top of the shorts so that the sewn sides match up with the sides of the shorts. Sew along this edge 3/8" from the edge of the fabric all the way around, leaving 1" open to insert the elastic.

- Insert the elastic into the pocket by attaching a large safety pin to the end of the elastic and push it through the pocket. Once you have made it all the way through, sew the ends of the elastic together with a zig-zag stitch. Close up the opening in the seam you made in step 5.

If you are worried about preventing fraying and curling on the hem of the shorts, you can sew a single line of stitches along the bottom edge, but it is not necessary.
PART 2: TANK
- To make the shirt, start off by measuring your bust and waist in order to calculate the measurements for the FRONT and BACK pieces per the instructions above. Cut out your pieces.
- All it takes to assemble the tank is to line up the FRONT and the BACK by placing the pieces with the right sides of the fabric touching one another. Line up the shoulders and the sides, pin, and sew 3/8" from the edges of the fabric.

Turn your shirt right side out and you are done!


This Tutorial was created by Julia Bleck of Bunny Baubles Blog
 Transparent
 White
White
 Pink
Pink
 Red
Red
 Orange
 Ivory
Ivory
 Yellow
 Gold
Gold
 Brown
Brown
 Green
Green
 Blue
Blue
 Purple
 Grey
Grey
 Black
Black
 Multi
Multi
 Abstract
 African Print
 Animal Print
 Baby & Nursery
 Buffalo Check
 Camo Print
 Celestial
 Chevron
 Church
 Damask
 Embroidered
 Floral
 Geometric
 Gingham Check
 Houndstooth
 Licensed
 Paisley
 Plaid
Plaid
 Polka Dot
 Sports
 Stripe
 Tie Dye


