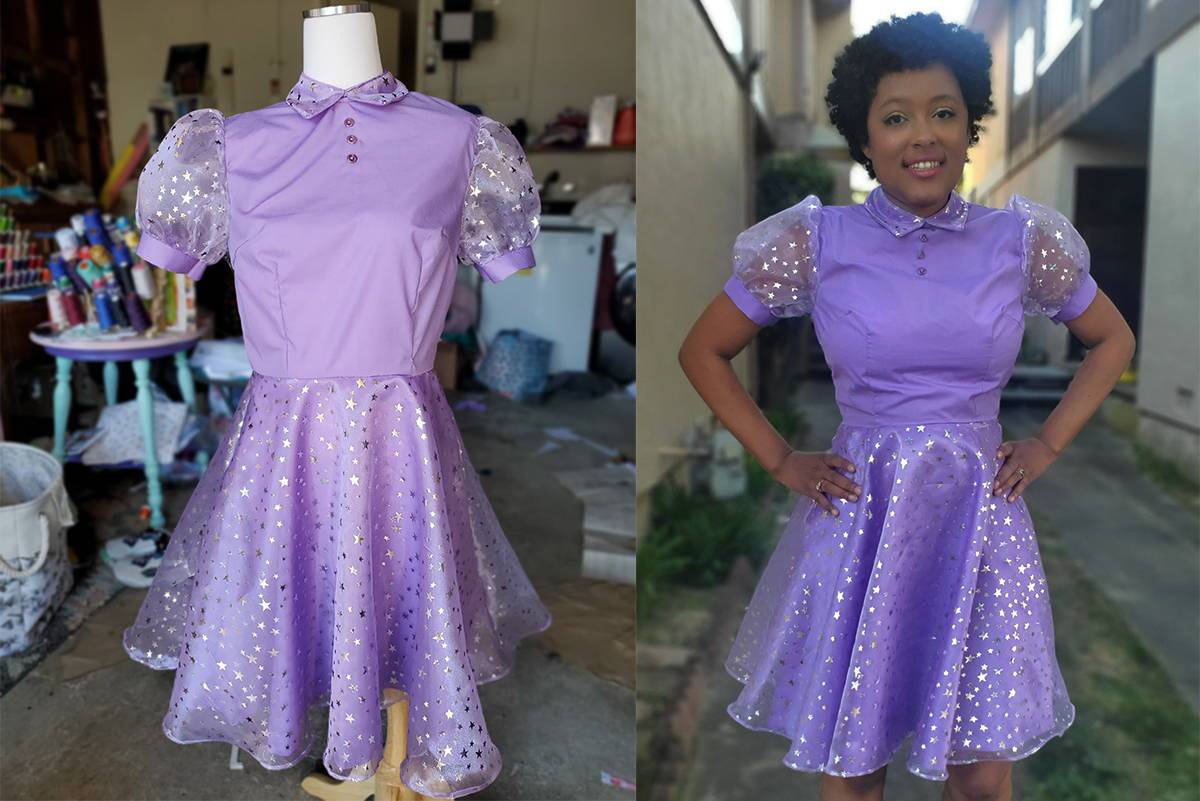
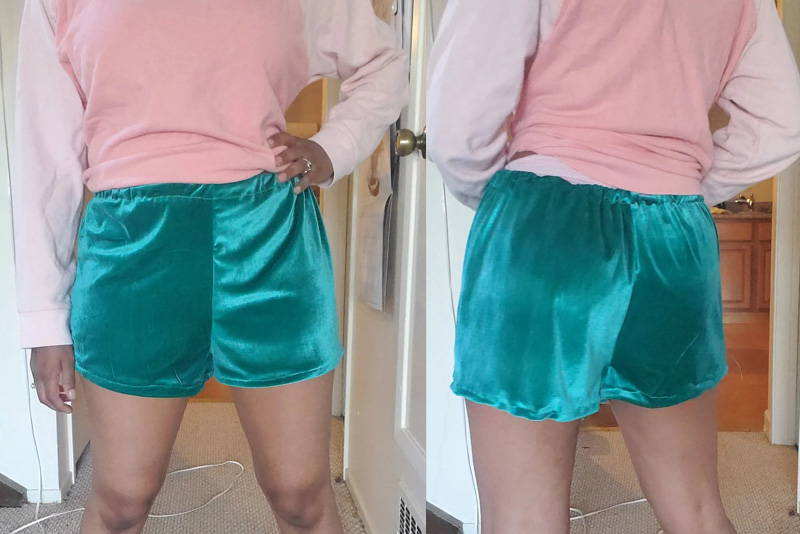
Project Description
Summer is almost here, and what is a better way to prepare than to make a one piece bodysuit! This is a breezy garment that is easy to put on and be ready for almost any occasion for the Summer.
Supplies
Here's what you will need!
- Bodysuit pattern from Gertie’s Patreon
- 4 Yards of Petunia Printed DTY Brushed(5-1)
- Matching Thread
- Scissors
- Serger (Optional)
STEP 1 Pin The Skipper Pattern
To start the project off we’re going to pin all of the skipper pattern to the fabric. Ensure that the bodice back and front is pinned to the fold of the fabric.
STEP 2 Repeat The Step 1
Repeat Step 1 with the bodysuit “underwear” front and back to the fold of the fabric. The only garment pattern that will not be cut on the fold is the sleeve.
STEP 3 Cut Bodices
Here is a demonstration of the bodysuit bodices being cut out along with the “underwear” part of the bodysuit.
STEP 4 Sewing Left Side
Use the pattern on top of the fabric as a template to mark where the crotch seam will be, like shown in the picture. Next, pin and sew the left side of the garment and sew it. We’re going to use the zig zag stitch.
STEP 5 Repeat For Right Side
Like step four, we’re going to pin and zig zag stitch the left side of the garment (our right the garment’s left).
STEP 6 Serge The Raw Edges
This is enforcing what the garment should look like after using the zig zag stitch. If you have a serger, this is your chance to serge the raw edges.
STEP 7 Pinning Garment Bodice
Next, we’re going to be pinning the garment bodice to the panties. Pin the waists together and use the zig zag stitch to sew. For a cleaner look, use your serger for the edges of the garment.
STEP 8 Sewing The Crotch
Now, we’re going to fold the garment “hot dog” style, and pin the right side of the garment together, same with the crotch area.
Optional: instead of sewing the crotch together, you can add snap buttons for easier wear
STEP 10 Sleeves Sewing
Onto the sleeves! Follow the black lines across the top of the garment. This is where we are going to gather the fabric. Ensure you don’t back stitch when you start sewing and when you reach the end off the sleeve garment. The extra thread is what we are going to use to gather the garment.
STEP 12 Making Sleeves
Now, we’re going to fold the sleeve in half and zig zag stitch it shut. After, fold over the bottom of the sleeve over the elastic. Make sure you leave a small opening to slip the elastic band in. Optional: Use your serger to clean up the edges.
STEP 13 Pin The Sleeve
Next, we’re going to pin the sleeves onto the bodysuit at the 5/8” stitch. Then we’re going to insert the elastic in the small openings we left in step 12.
STEP 14 Attach The Sleeve
This is another checkpoint to demonstrate what your garment should look now. We are now on our final step at hemming the collar and bottom.
Complete!

 Transparent
 White
White
 Pink
Pink
 Red
Red
 Orange
 Ivory
Ivory
 Yellow
 Gold
Gold
 Brown
Brown
 Green
Green
 Blue
Blue
 Purple
 Grey
Grey
 Black
Black
 Multi
Multi
 Abstract
 African Print
 Animal Print
 Baby & Nursery
 Buffalo Check
 Camo Print
 Celestial
 Chevron
 Church
 Damask
 Embroidered
 Floral
 Geometric
 Gingham Check
 Houndstooth
 Licensed
 Paisley
 Plaid
Plaid
 Polka Dot
 Sports
 Stripe
 Tie Dye


