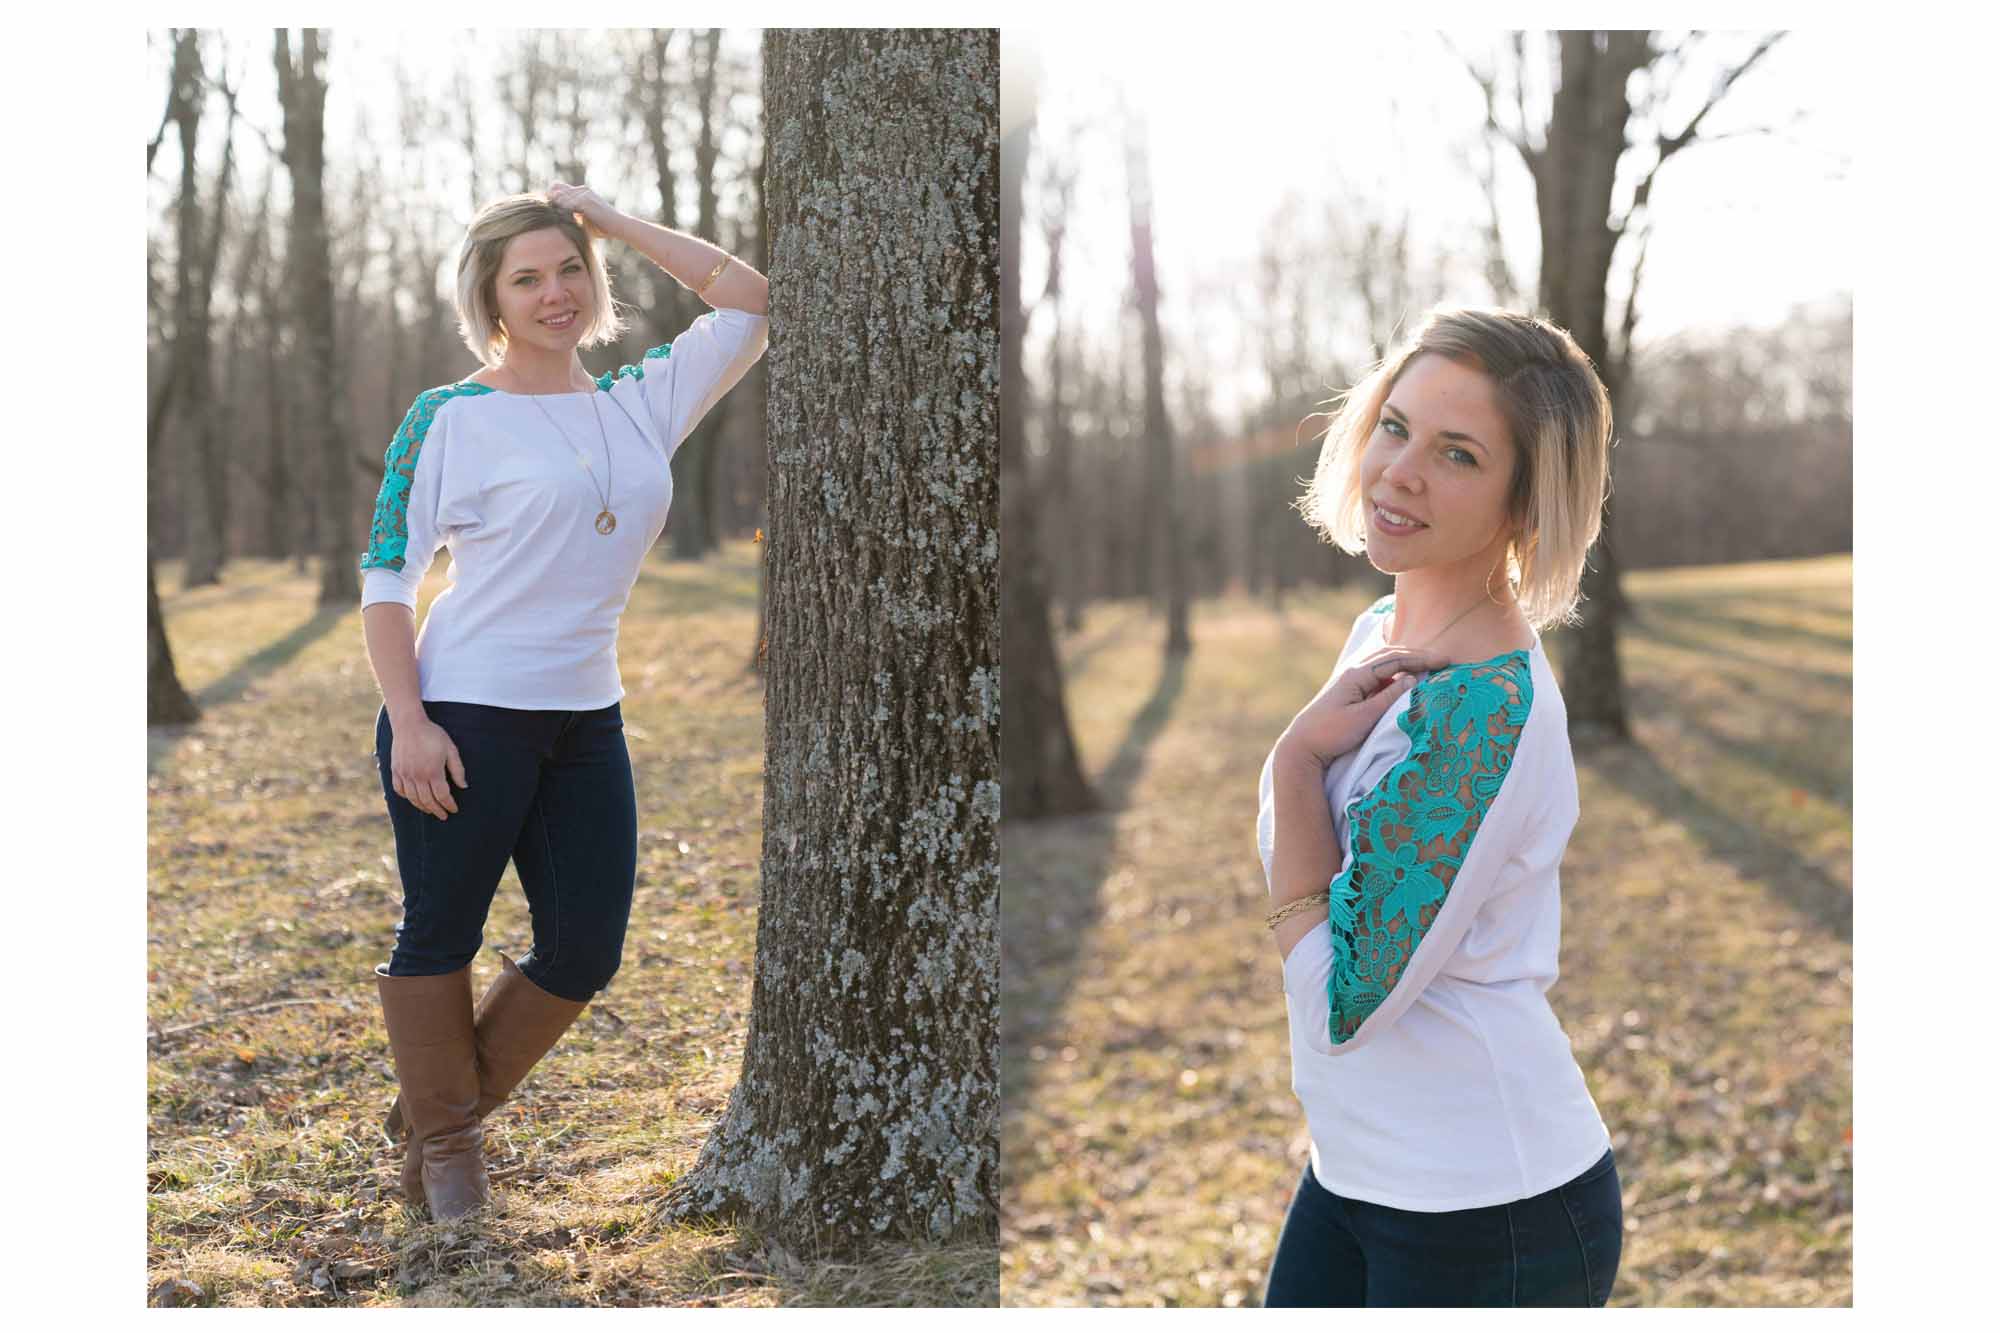
These days, it's almost as important to have great lounge wear as it is to have any other daytime clothing. The lounge wear trend has been popular for a couple of years now, and it's easy to see why. On weekends there is nothing better than throwing on a cute and comfortable outfit to get errands done, or even just hang around the house binging Netflix all afternoon. It's clothing you want to wear, so you might as well have something nice!
One of the best items of lounge wear to make its appearance this year are joggers. These sweatpants feature a cinched ankle style, making them something between a legging and a traditional sweatpant. The trick to joggers is making sure they are not too tight, nor too loose. This pattern is the perfect balance between the two fits with a fitted ankle and flattering midsection. The contrasting white drawstring keeps the look casual, even though the Ponte de Roma fabric is so luxurious!
To make a pair of joggers, the pattern pieces include a front and back pant piece, ankle pieces, and a waistband. Though elastic is the main tool being used to hold the pants up at the waist, the drawstring was included for style. It can be left out if desired to simplify the construction by leaving out the insertion of the grommets and string. This pair of joggers was created using the olive colored Ponte de Roma fabric from Fabric Wholesale Direct.
Supplies:
1.5 yards Army Green Ponte de Roma Fabric
Green Thread
2 Rivets
2" Wide Elastic as long as your hip measurement
White Cording as long as 2x your hip measurement
Sewing Machine
Measuring Tape
Time:
5-6 hours
Difficulty:
Medium
LET'S GET STARTED!
- Start by cutting out your pattern pieces. You should have 2 FRONT leg pieces, 2 BACK leg pieces, 2 ANKLE pieces, 1 WAIST piece, and 2 POCKET pieces. See the diagram above for detailed dimensions.

-
Take your POCKET pieces and fold the angled edge over toward the back about 1/4" and sew. Then, line up the pockets with the right side of the FRONTs as shown and sew around the POCKET edges using a zig zag stitch except on the seam. This will be where the pocket opening is. This creates an exposed style pocket on the front of the pants.


-
Assemble the leg pieces by placing the FRONTs on to the BACKs with the right sides of the fabric touching. Sew along the outer and inner leg seams.

-
Attach both legs together by turning one of the legs right side out and placing it inside of the other leg. Line up the inseam and sew along it. Turn the pants right side out.

- Create the ankle pieces by folding the ANKLE piece over width wise and sewing along the short end. Then flip the long edge over itself to make a double layered circle. Line the open edge up with the bottom of the pant legs and sew along the open edge.

- To create the waistband, sew the two short ends of the fabric together. Flip the long edge of the WAIST piece over itself to make a double layered circle with a pocket.


- To create the waistband, sew the two short ends of the fabric together. Flip the long edge of the WAIST piece over itself to make a double layered circle with a pocket.


- Finish the waistband by inserting two grommets in the center of the waistband about 2" apart. String your cording through the holes and inside the pocket. Align the waistband with the grommet side down to the top of the pants. Sew along the top about 1/4" from the edge of the fabric.


HERE'S HOW IT LOOKS WHEN YOU ARE FINISHED!

This tutorial was created by Julia Bleck of Bunny Baubles Blog
 Transparent
 White
White
 Pink
Pink
 Red
Red
 Orange
 Ivory
Ivory
 Yellow
 Gold
Gold
 Brown
Brown
 Green
Green
 Blue
Blue
 Purple
 Grey
Grey
 Black
Black
 Multi
Multi
 Abstract
 African Print
 Animal Print
 Baby & Nursery
 Buffalo Check
 Camo Print
 Celestial
 Chevron
 Church
 Damask
 Embroidered
 Floral
 Geometric
 Gingham Check
 Houndstooth
 Licensed
 Paisley
 Plaid
Plaid
 Polka Dot
 Sports
 Stripe
 Tie Dye


