Project Description
This summer after the height of COVID, everyone is reemerging from their homes and styling some new trends that aren’t the same tie-dye sweatsuits they donned last year. Some of the most popular looks include ruffles, shirring, and puff sleeves the bigger the better!
Ruffles may not be a new concept generally, but garments with endless tiers of ruffles are. Tiered skirts give an easy, breezy feel to a dress. Ruffles can be layered on top of one another to create volume or used as a creative way to trim out a top. The look can be achieved with no special tools. It just takes a long, straight stitch, and is made even easier to gather with two parallel seam
Supplies
Here's what you will need!
- Fabric for your project that is 2x the length of the ruffle you are hoping to achieve
- Sewing Machine
- Matching thread
How To Sew Ruffles
STEP 1 Measuring
Start by measuring the length of the ruffle you hope to create. This may be on the bottom edge of the bodice of a dress you hope to add a gathered skirt to. It may be the arm hole of the shirt you want to add a flutter sleeve to. Take this measurement, multiply it by 2, and make sure the length of your fabric is this measurement
STEP 2 Machine Adjustments
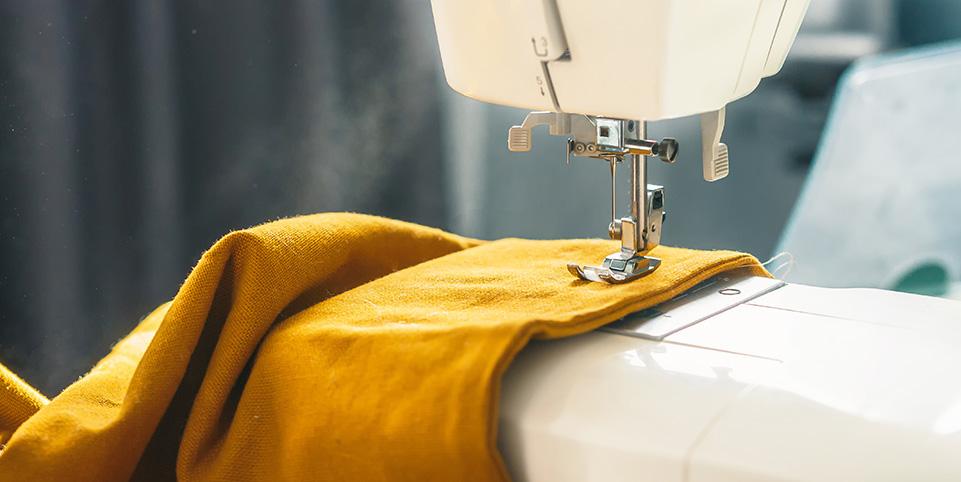
Place your fabric into your sewing machine and line up the edge about 3/8” from the edge of the fabric. Make the following adjustments to your machine:
a. Set the machine to a straight stitch setting.
b. Increase the length of your stitch to a longer length than normal, somewhere between a 4 and 5.
c. Leave the width of the stitch alone (this is not needed as we are sewing a straight stitch).
d. Adjust the tension if required depending on the fabric.
STEP 3 Start Sewing
Start sewing a straight line, making sure to keep the edge of the fabric 3/8” from the edge. Do not backstitch at the start of the stitching. Continue sewing straight until you get to the end of the fabric. Again do not backstitch at the end. Pull the fabric out leaving long tails on the thread and cut them.
STEP 4 Repeat
Repeat this process with another straight stitch which is about ¼” away from the previous stitch. It is important to try to keep these seam lines parallel with one another as it makes the gathering process much simpler.
STEP 5 Gathering Technique
Once you have both seam lines completed, hold the top thread for each seam, pinch the fabric at the edge, and push the fabric away from you while holding on to the loose threads. The fabric will begin to gather. Continue pushing fabric away and pulling on the threads, moving the gathering down to even it out along the seam lines. Continue doing this until the fabric is the length you need.
 Transparent
 White
White
 Pink
Pink
 Red
Red
 Orange
 Ivory
Ivory
 Yellow
 Gold
Gold
 Brown
Brown
 Green
Green
 Blue
Blue
 Purple
 Grey
Grey
 Black
Black
 Multi
Multi
 Abstract
 African Print
 Animal Print
 Baby & Nursery
 Buffalo Check
 Camo Print
 Celestial
 Chevron
 Church
 Damask
 Embroidered
 Floral
 Geometric
 Gingham Check
 Houndstooth
 Licensed
 Paisley
 Plaid
Plaid
 Polka Dot
 Sports
 Stripe
 Tie Dye


