White
White
 Pink
Pink
 Red
Red
 Orange
 Ivory
Ivory
 Yellow
 Gold
Gold
 Brown
Brown
 Green
Green
 Blue
Blue
 Purple
 Grey
Grey
 Black
Black
 Multi
Multi
 Abstract
 African Print
 Animal Print
 Baby & Nursery
 Buffalo Check
 Camo Print
 Celestial
 Church
 Damask
 Embroidered
 Floral
 Geometric
 Gingham Check
 Houndstooth
 Licensed
 Paisley
 Plaid
Plaid
 Polka Dot
 Sports
 Stripe
 Tie Dye

Looking for a stylish, easy-breezy summer dress well look no further. This outfit is designed for going around town on a bright sunny day, and you will brighten others' day too!
Supplies:
5 Yards of
2 Yards of
Time:
5-6 hours
Difficulty:
Medium
LET'S GET STARTED!
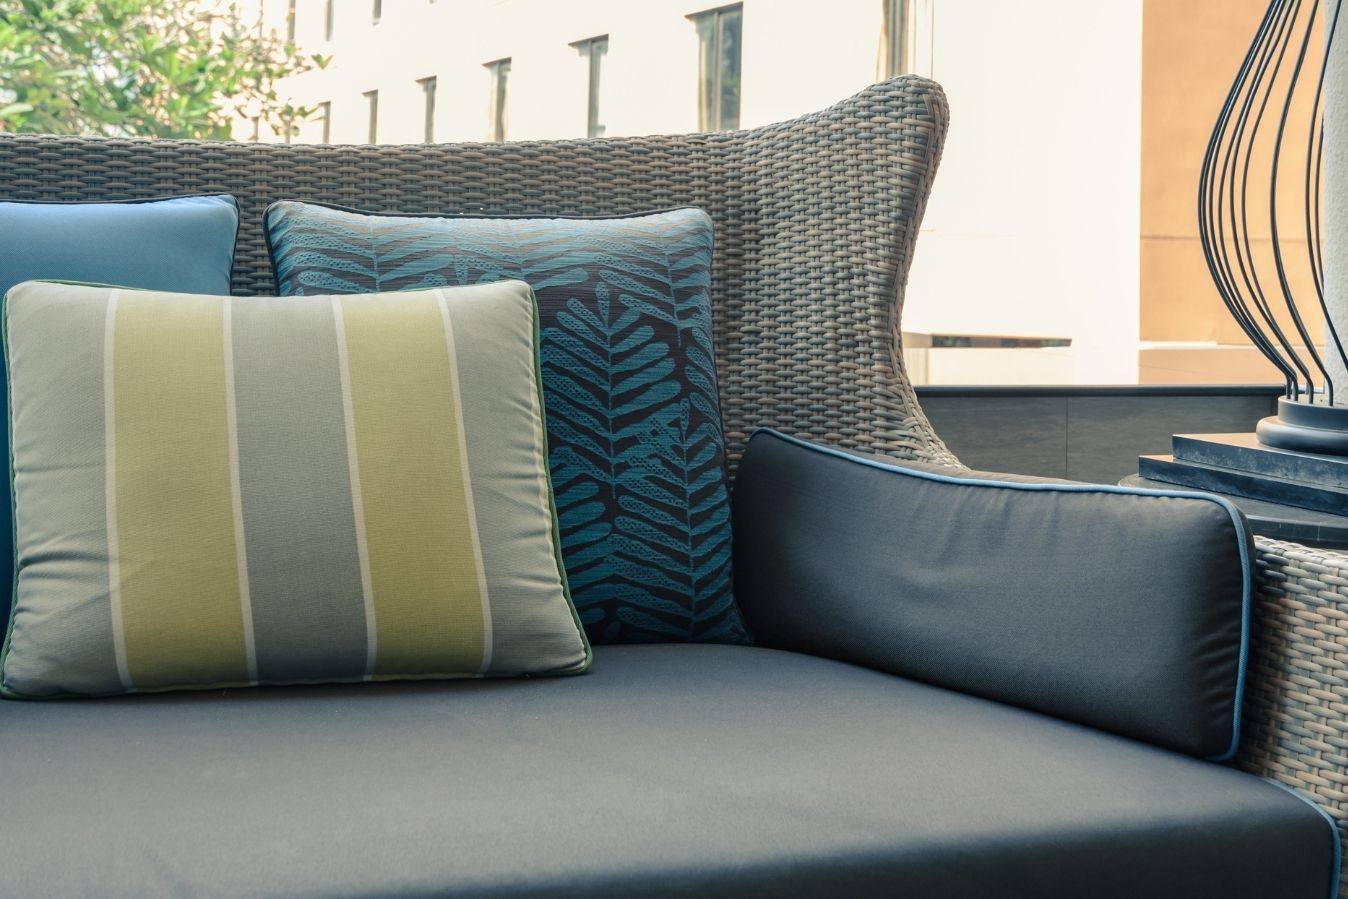
- As always, the starting picture is everything you will need for your project (minus the buttons, however.) This ruffle tiered dress is going to be the best thing to wear no matter the changing of the seasons. Keep in mind that this is a PDF pattern! Take time to print out the pattern at home or at a print shop and cut the pattern to your size.

- Next we will be pinning down the skirt! There are three pieces to be pinned down: 11,12, and 13. Pin them down like shown in the photo above.

- Before you cut, however, you'll measure the length of the garment. . For example, for pattern 11, you’ll need to have this garment length be 77 inches. Measuring from the beginning of the garment, use your measuring tape to extend the pattern down.

- Make sure that you are leaving a mark with a pen to see where the length ends.


- Once you make your mark, cut only the sides of the pattern, once you cut the sides you can pull the length forward to where you previously marked where the 70 inches was. Continue to cut the end of the piece using the semi-cut fabric as a guideline to keep your cut straight like shown above.


- Now it’s time for the garment! You’re going to sew both of these garment pieces on the fold. Repeat the same for the lining.

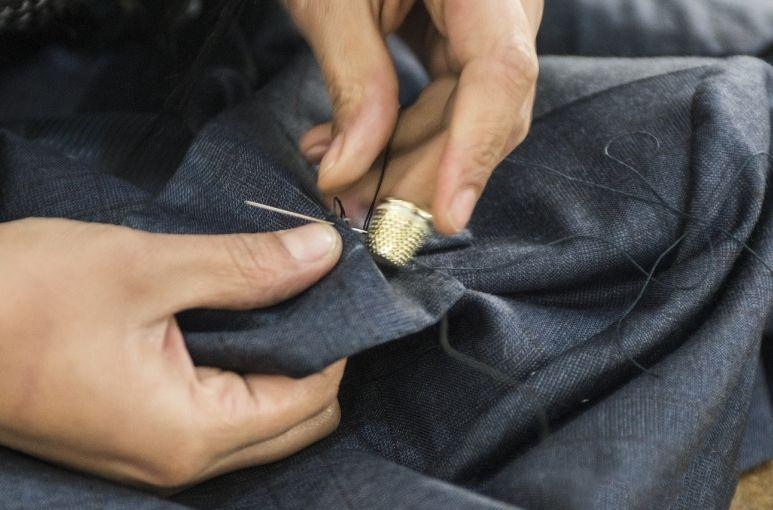
- Be sure to have a pen and a ruler handy for the darts! In the photo below, I used my pins to mark where the designated pins should go.

- Notice how I slightly lift the paper pattern up so I can put a new pin right under where the dart should be. Repeat this process with the front and back of the bodice.

- Once you finally have all the pins down, you’re going to take your ruler and draw a line connecting the dots.

- After drawing the line you will then fold together the pieces and pin them together. Make sure when you’re sewing, you follow the lines you made when you connected the dots!


- Now for the easy part, you’re going to sew together the front and back bodice like shown above and then connect the main bodice fabric with the bodice lining. The “wrong” side of the fabric will be facing you. Be sure to leave the left side of the garment open because this is where you will be placing the zipper.


- Now for the hardest part of this project, the gathering! Before even starting your stitch, you’re going to pull out extra thread from the bobbin and the top thread. Personally, I like to pull out a good 2 inches so I can have a good grip, but however long you’ll need in order to get a good group will suffice!

- After pulling out the extra thread that’s when you’re going to make a continuous stich throughout the top of pattern number 11, 12, and 13. Before instantly cutting the thread at the end of the garment, you’re going to pull out an extra 2 inches of thread from the bobbin and top thread. After doing so you’re ready to start gathering the garment!
- All you need to do in order to gather the garment is take only the top thread and pull it with one hand, while your other hand is tugging at the fabric. The fabric should be wrinkling together like the photo above. Repeat this process with the bottom of pattern 11 and 12. For the bottom of pattern 13, you’ll be hemming the bottom.

- Once you’re finished gathering the pattern pieces 11,12, and 13 we can now sew them together and attach it to the bodice like shown above! Once all the garments are sewn together you can add the zipper on the side where we left an opening. Then voila! You are finished.


You're All Set!